Complete strip and re-build of front suspension using 'blue' polybushes, new trunnions, new wheel bearings and seals, new track rod ends, new top ball joints, new roll bar links, new brake pistons / seals / flexible pipes and springs from an '81 spit.
SPITFIRED
Tips:
13-07-08:
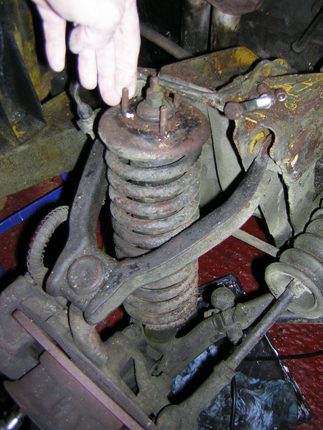
Original front suspension in serious need of new parts and a good clean! Why do people insist on putting grease in trunnions? It wrecks them. |
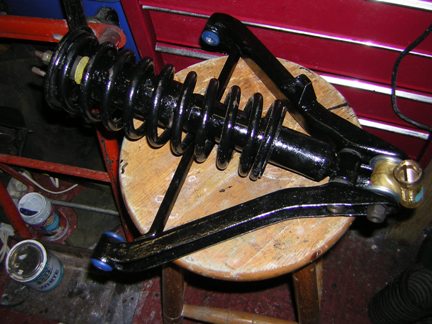
Same parts after a good clean, POR15 metal ready, chassis paint and new bushes. |
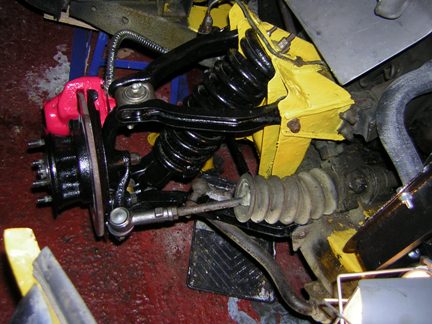
Re-built on car awaiting new anti-roll bar link. |
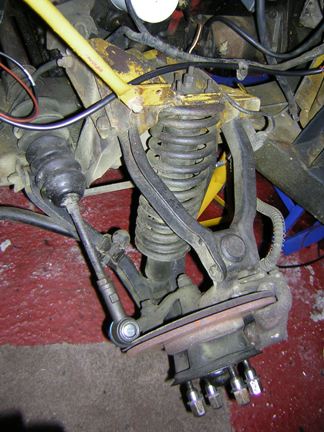
Passenger side, looks not too bad but has worn top ball joint, worn and 4 turns away from correct position trunnion and broken lower wishbone where the anti-roll bar link bolts in! No wonder the handling was vague (well worse than it should be). |
|
Following pictures show the order and my methods used to strip the suspension.
|
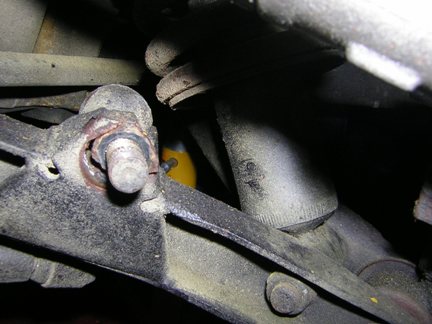
Anti-roll bar link locknut removed revealing the broken lower wishbone, this was dressed and had new metal welded in prior to paint - see later picture. |
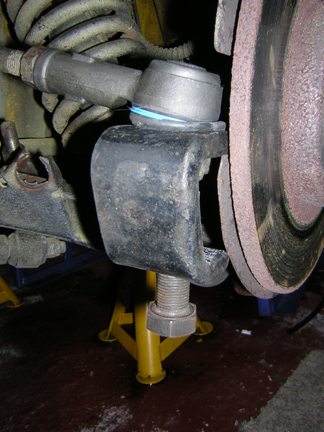
Track rod end balljoint released from arm. |
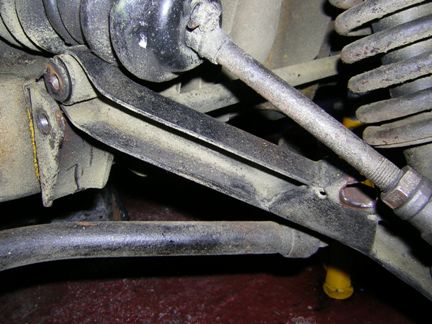
Lower wishbone pivot bolts removed and arm pulled out of mounts. Note that one mount each side of the car will need to be removed from the chassis to allow access to the pivot bolt. Keep a note on any spacers fitted behind. |

Upper wishbone pivot bolts released for later removal - remember to note where the shorter bolt goes on re-assembly. Brake flexible hose removed from bracket and new hose fitted with sealed end to stop all fluid draining out. |
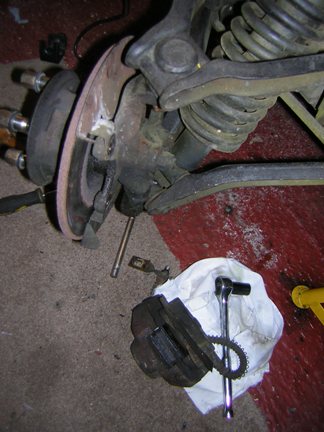
Brake caliper removed for later refurbishment. |
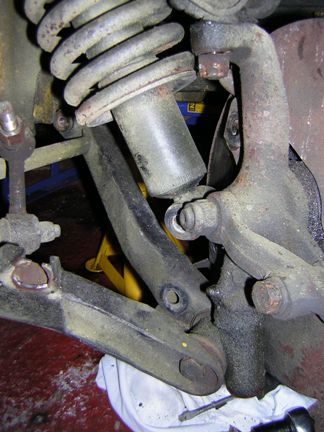
Bolt removed from shock absorber to lower wishbone. |
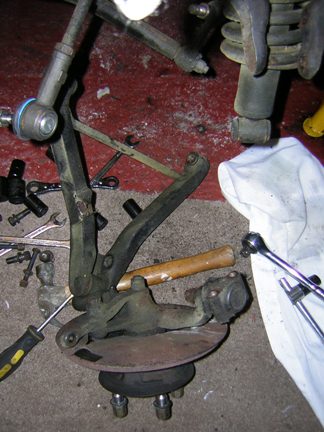
Due to the upper ball joint locknut being seized it was easier to unbolt and remove the complete assembly from the upper wishbone arms. |
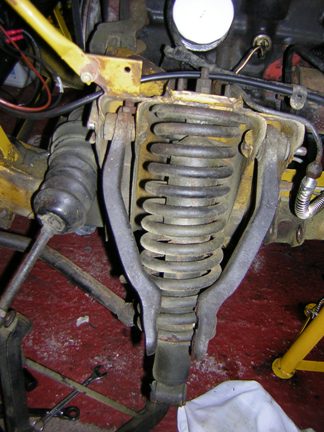 |

Next, the spring and shock absorber assembly was removed from the chassis, followed by the pivot bolts and upper wishbone arms. |
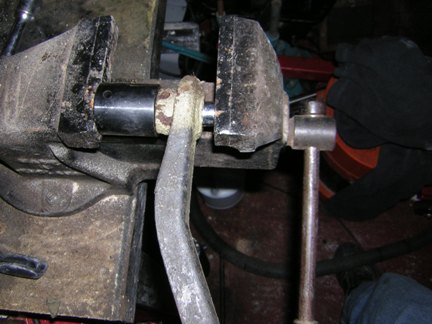
Old bushes pressed out using vice, large socket over bush and small socket on face of bush. New polybushes pressed in using the same process. |
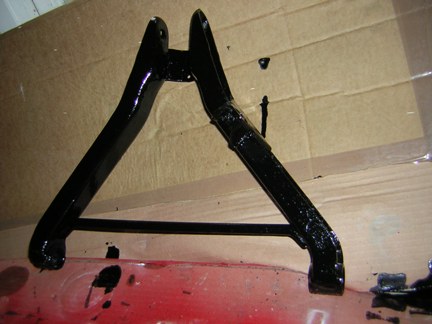
Lower wishbone after repairs and re-paint awaiting installation of polybushes. |
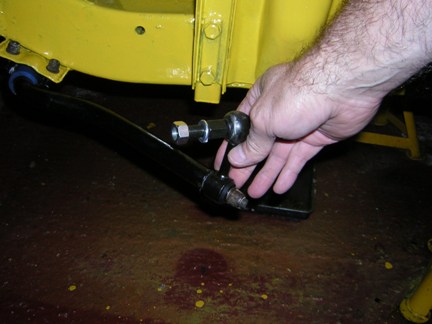
Anti-roll bar was removed, cleaned, painted with chassis black and re-built with polybush mounts and new links. |
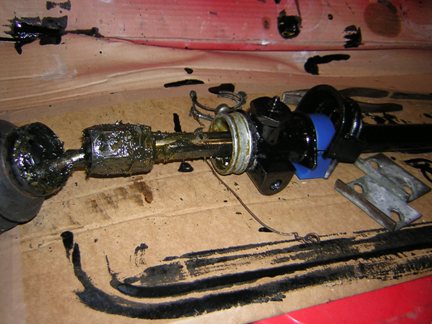
Steering rack removed by releasing bolts from underneath, undoing track rod ends, releasing coupling to steering column and sliding out sideways towards drivers side. Rubber boots have small splits so need replacing. At this time all joints and pinion gap will be inspected and all shimmed if required. |
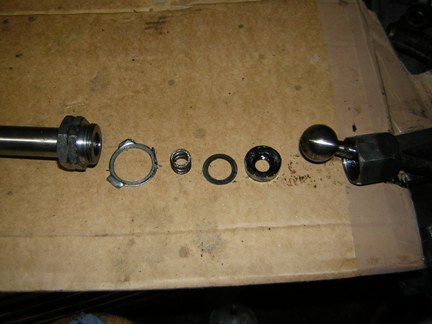
Track rod end positions logged and rack stripped and cleaned, pinion has no detectable 'play' and 'feels' good when rotated pushing rack from one end to the other. End swivel joints re-assembled without spring and lock-washer in place and tightened till arm was stiff to rotate. Measurements taken at external gap where lock-washer fits and new washer thickness adjusted to suit. Ends re-assembled, tightened fully, movement of arm checked as OK and lock-washer tabs bent over. The other (more correct?) option would to have purchased or made thicker internal shims to take up the 30 years of wear. |
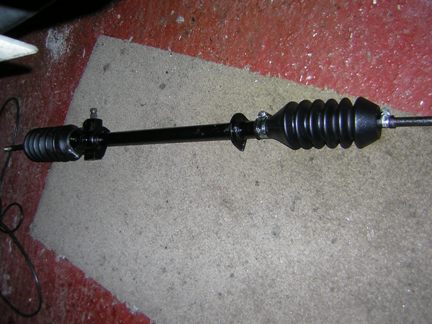
Rack travel checked for centre then all parts re-greased with Lith-Moly grease and boots stretched over - not easy that bit! Ready to re-fit to car. |
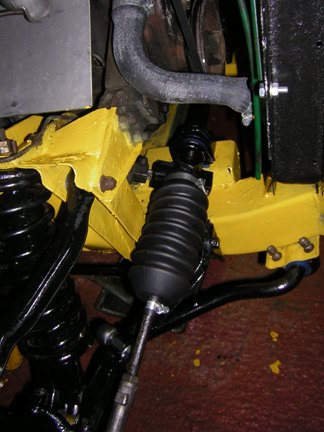
Steering rack re-fitted to car - make sure rack and wheel are both at central positions before connecting to steering column. |
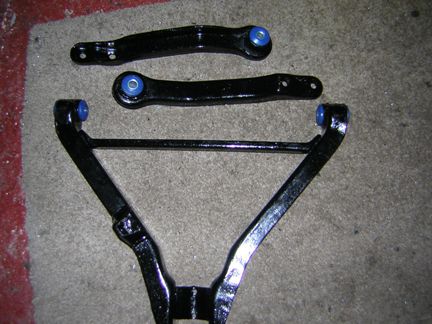
Polybushes fitted, ready for re-build. |

Very carefully tighten down the spring compressors a bit at a time on each side until the shock absorber will fit right through enabling the upper spacers, rubber discs and top plate to be fitted. |
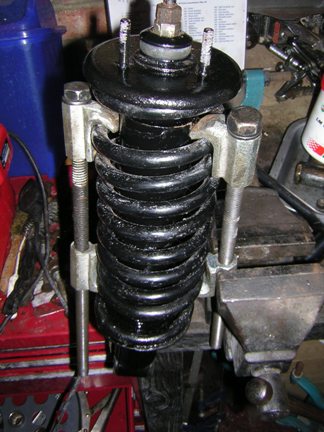
Safe, all in place and locked down. |
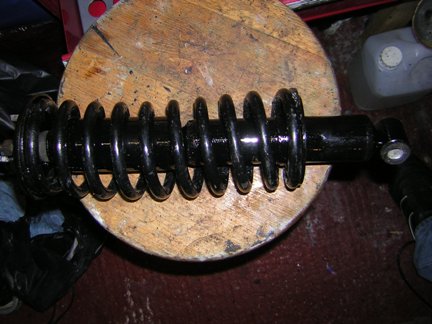
Finished assembly ready to go back on. |
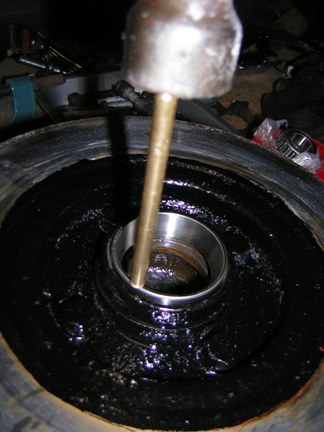
Once everything is clean, carefully drift in the two outer bearing races one from each side. I use a brass rod and tap all around to slowly push the bearing in square. Make sure it is fully seated by either noting a different sound when tapping or using a very thin feeler to check for a gap. Note, my hand holding the brass bar had to hold the camera! |
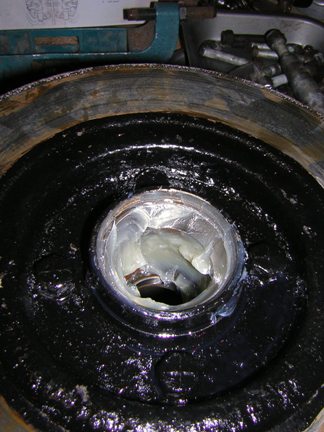
Half fill the hub cavity with clean bearing grease - Castrol LM used here. |
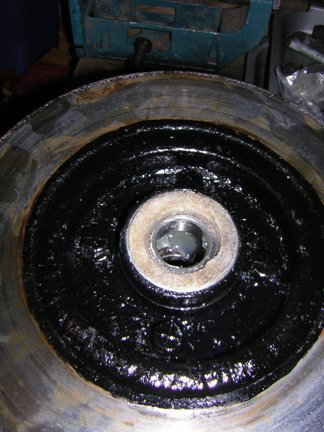
Drift in seal after inner rear race is in place and grease felt pad. |
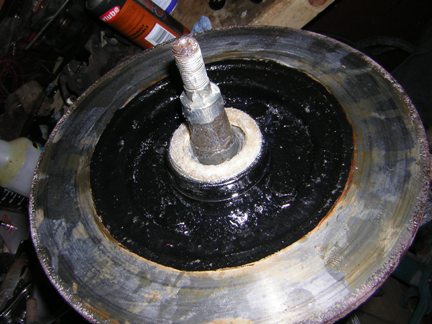
Push stub axle through from front to check bearing fit. |
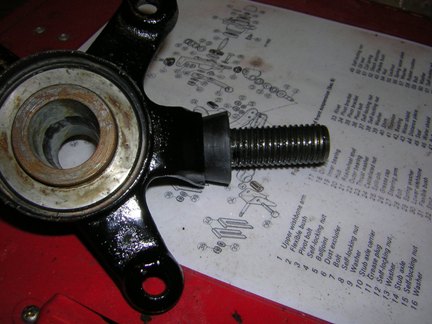
Fit trunnion top seal. |
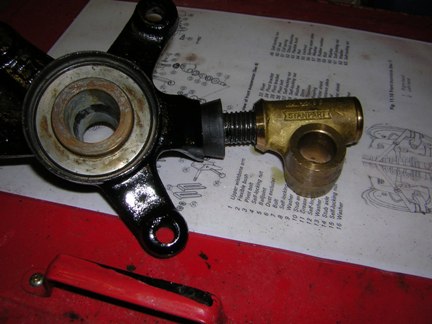
Oil lubricate trunnion and thread prior to assembly. |
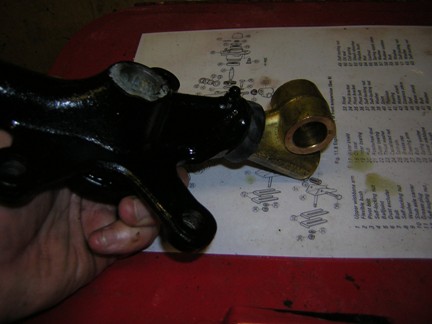
Make sure the trunnion is oiled and wound fully up then backed off part turn to get it in the correct orientation - check it will rotate +/- 90 deg from this position - if not re-adjust. |

The brake disc shield should have been fitted here! |
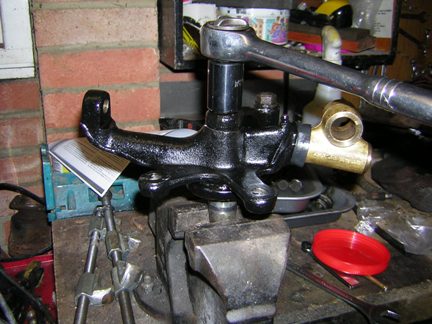
Remove hub and grip stub axle in vice (not on bearing diameters - soft jaws would be better) and fit stub axle carrier and steering arm, torque bolt and nut to required specification. |
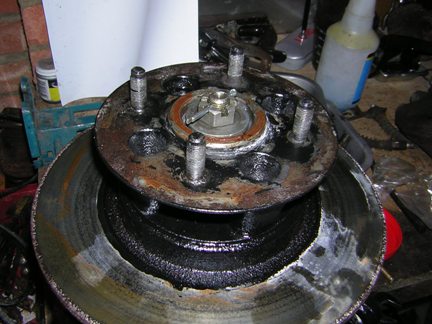
Turn over, fit hub and tighten nut as recommended then fit split pin. Half fill end cap with grease and tap into place. |
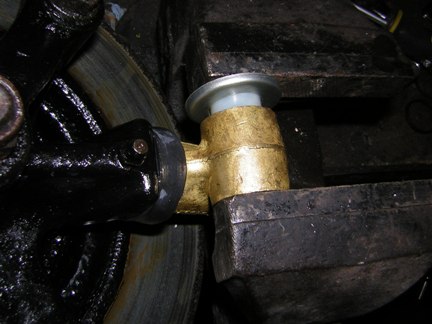
Press in nylon bushes and steel shields from both sides. |
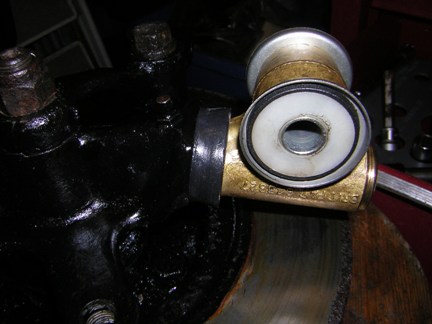
Fit rubber seals over ends of nylon bushes. |
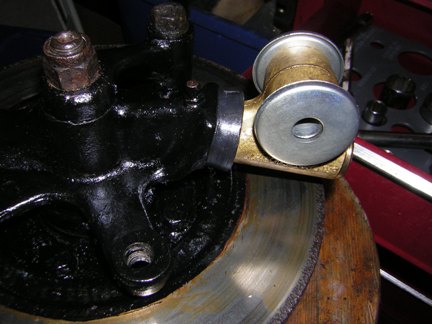
Fit steel shields over both sides and compress assembly together in the vice to make sure all seated before assembly into suspension arm. |
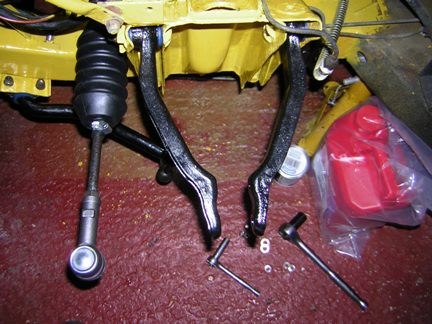
Fit upper wishbone arms making sure correct length bolts are used at pivots (on this side the shorter bolt goes on the left). |

Fit spring and shock absorber assembly to suspension mount. |
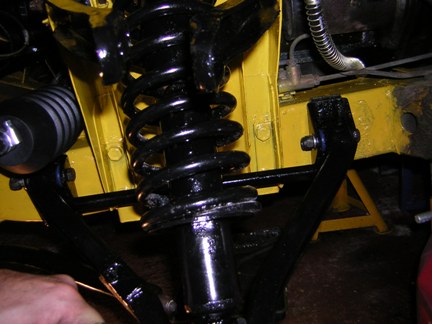
Fit lower wishbone to car. |
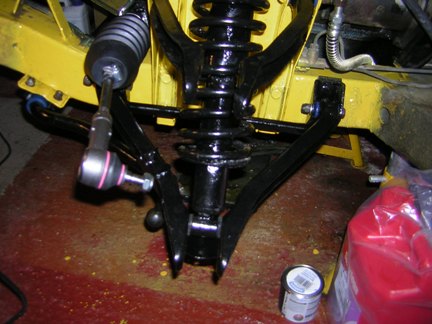
Bolt shock absorber to lower wishbone. |
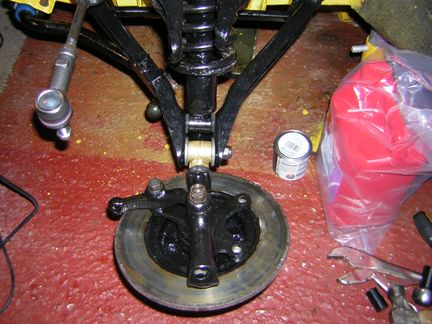
Fit and bolt trunnion assembly to lower wishbone. |
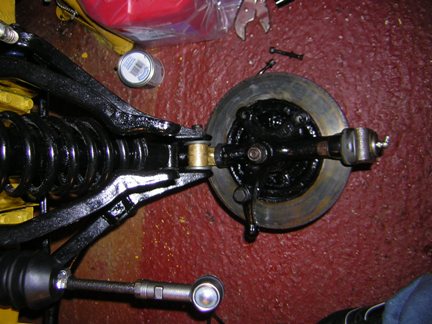
Fit upper balljoint to stub axle carrier. Just spotted the missing brake disc shield - what a pain to fit now, but, had to be done. |
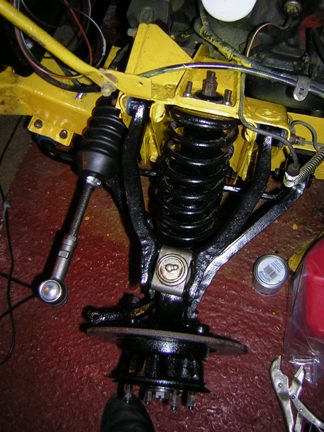
Lift hub assembly and bolt upper ball joint to upper wishbones. Don't forget to oil lube the trunnion and grease the upper ball joint prior to attaching the track rod arm - it's so much easier. |
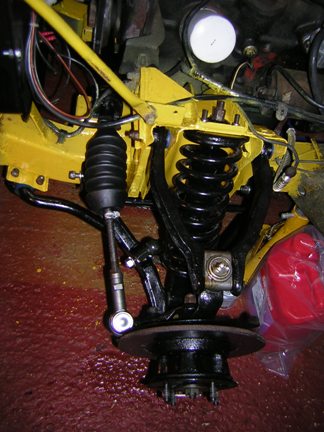
Connect anti-roll bar and link. Finished suspension, just need to tighten all bolts to recommended torque, clean brake disc and fit wheel - pressed steel or wires - I think the wires should be put into service. |

Brake calliper removed, pins being removed to release pads. |
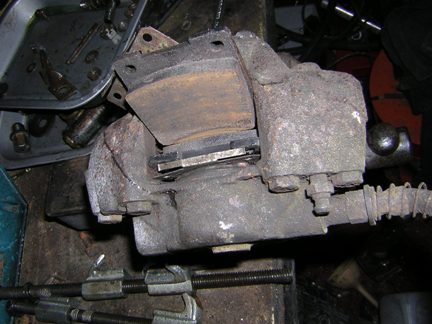
Pads and anti-squeal shims being removed. |
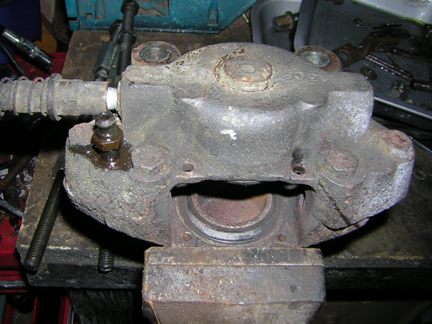
Flexible hose and bleed nipple being removed. |

Four bolts removed to split calliper assembly. Keep rubber seal from oil path on inside safe. |

Old clips and seals removed from pistons. |
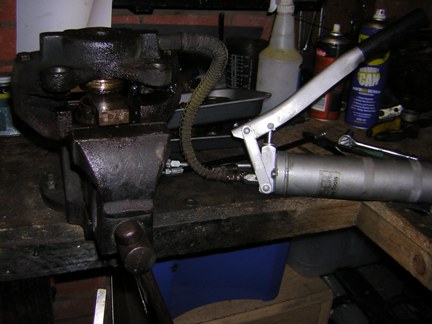
Pistons were stuck fast in housing so two halves re-assembled (with seal) and grease gun connected to hose. |
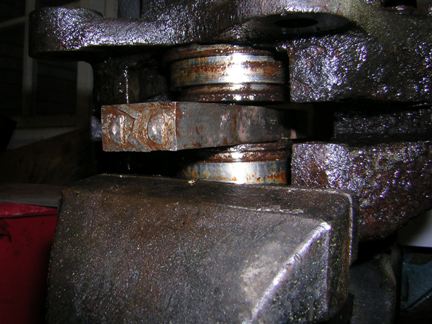
Steel bar placed between pistons and calliper pumped full of grease (after bleeding) which then forced the pistons slowly out. Do not push fully out! Release pressure at bleed nipple and disconnect grease gun. Could have used oil or air instead of grease. |
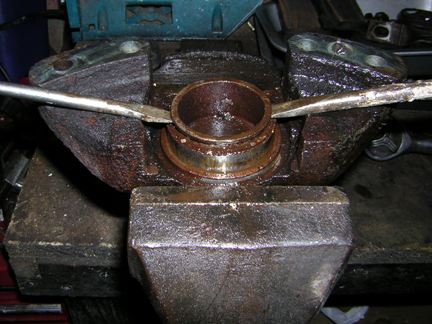
Carefully prised out piston. |
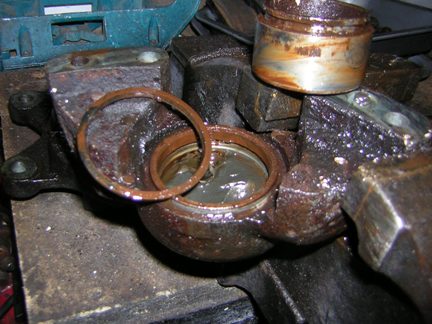
Piston out and seal ring removed. |

Calliper parts fully cleaned and spayed with POR15 metal ready. Piston bores protected. |
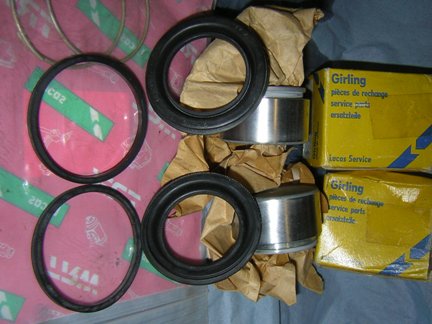
New seals, shields, retaining rings and pistons ready for fitting. |
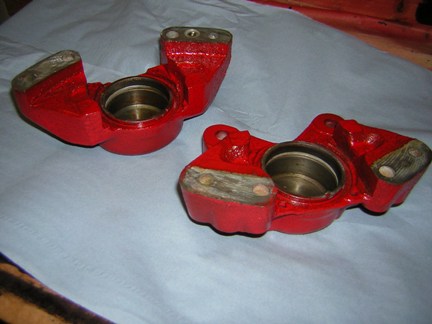
Calliper halves painted (first coat) bores and mating faces masked. When dry masking removed, bores cleaned and mating faces stoned flat. |
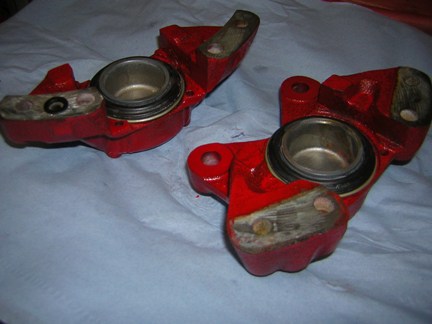
New internal seals, pistons, outer piston seals and retaining rings fitted. |
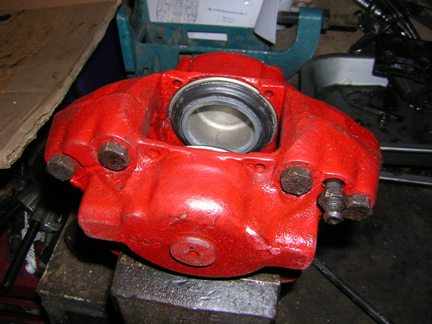
Calliper back together with bolts torqued up. |
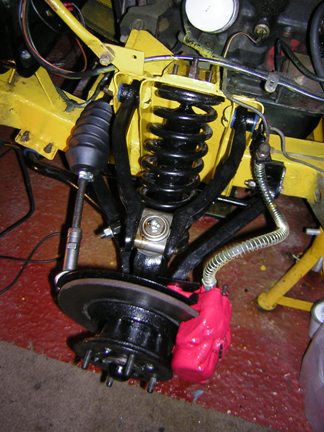
Completed suspension and brakes. |
| Decided car was too high at front so swapped springs for Moss sports ones - TT4301 |
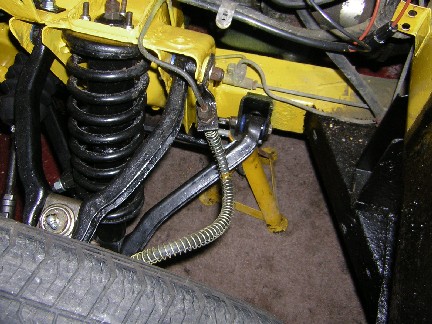
Car jacked up at front and supported on stands. |

Wheel removed. |
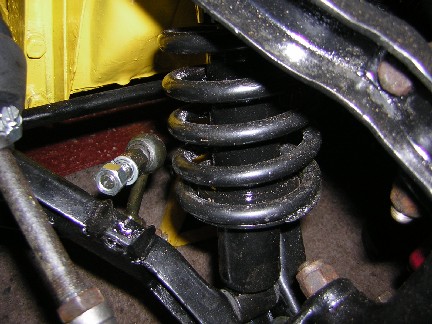
Disconnected anti-roll bar link. |
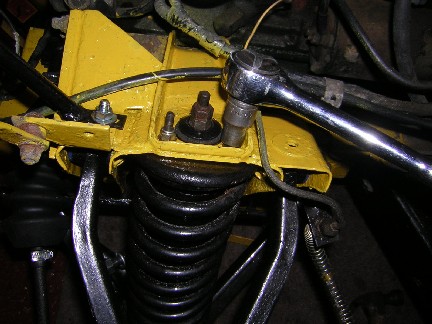
Removed 3 nuts and washers securing spring / shock assembly to chassis. |
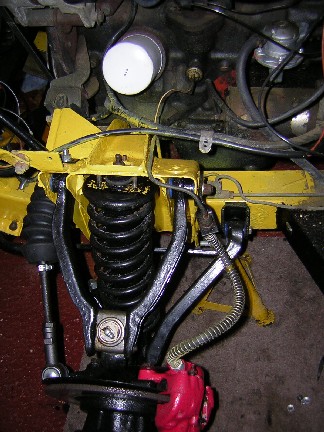
Pushed down on suspension to free top of spring assembly. |
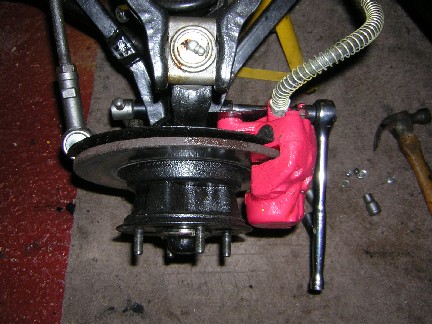
Removed nut, washer and bolt securing shock absorber to lower wishbone. |
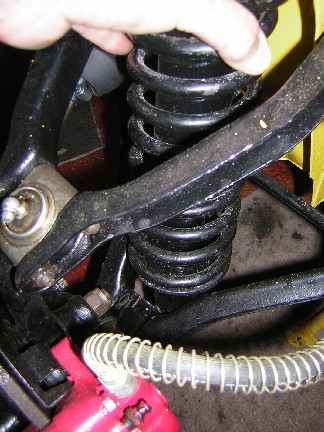
Push shock absorber back out from its bottom fixing and drop down through lower wishbone. |
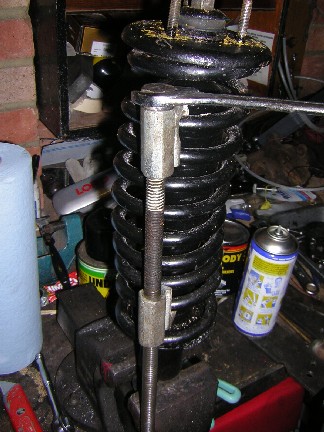
Fit spring compressors and carefully tighten down until spring can be moved on shock absorber. |
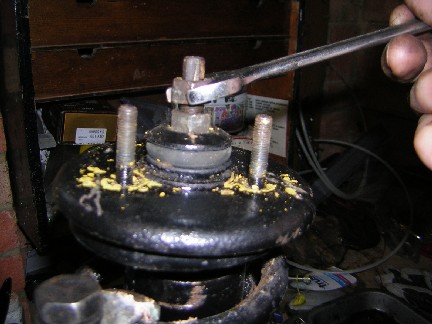
Remove 2 locknuts. |
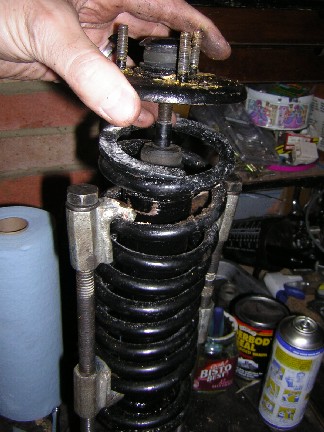
Lift off upper spring cap. |
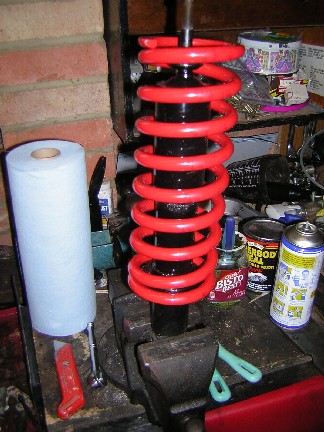
Fit new spring over shock absorber - these sports ones do not need compressing to fit. |
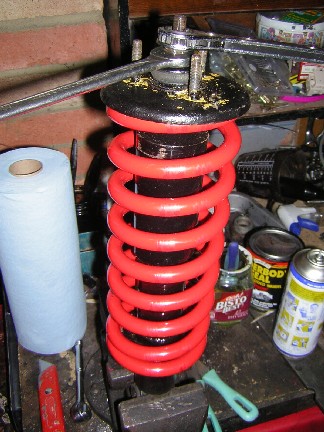
Tighten 2 nuts down on spring cap - make sure orientation is correct to lower shock absorber mount. |
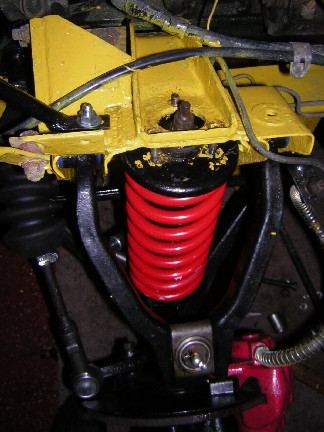
Pass spring / shock assembly through wishbones and lift up into chassis mount. Loose fit 3 nuts and washers. |
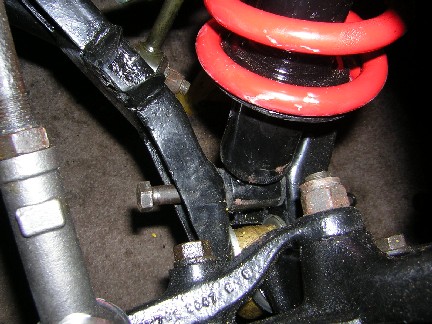
Re fit bolt, washer and nut through lower wishbone to shock absorber. |
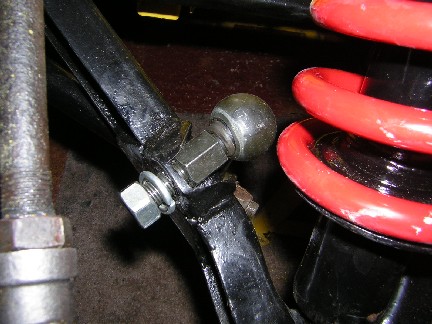
Re-fit anti-roll bar link. |
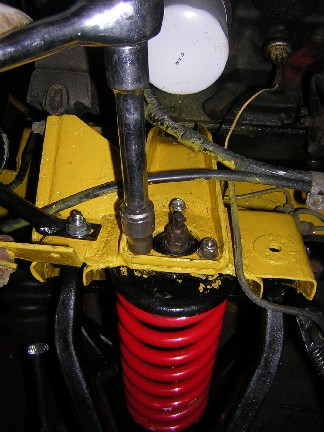
Tighten 3 top nuts to pull spring / shock assembly up to chassis mount. |
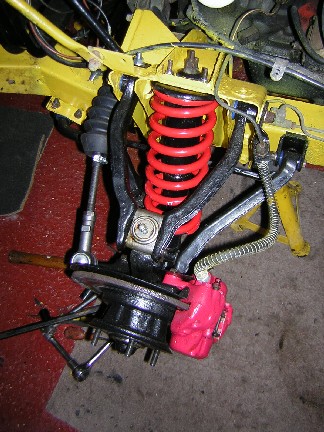
Suspension all back together - easier than it looks. |
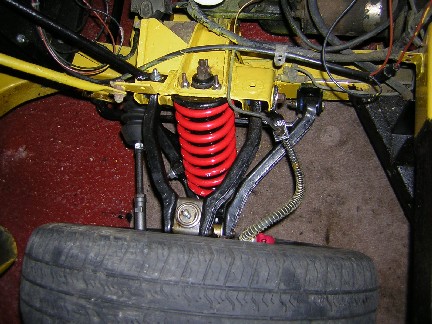
Car back down on its wheels and sits much better. |